Monday, September 5, 2016

The Heart of Vintage Camper Renewal--Details, Details, Details

Do you know that I possess a legal pad that once held twelve pages of details to be completed on our 1961 Mobile Scout? For the past fourteen months, we've been slogging through the list like a mule-drawn plow through wet clay. Remove water-damaged birch paneling...check! Replace all galvanized screws on camper's exterior with chrome-plated ones...check! And so forth.

But now that the end is in sight, we're actually getting to focus on details that have some emotional reward (I know, weirdness, but when you've put this much effort into a project, there has to be something fun once in awhile!)

Hideous Before
For instance, my favorite project in the past couple of weeks was peeling away horrendous, melted on self-adhesive, plastic-coated paper that lined the top, bottom and sides of every cabinet and drawer and replacing it with removable shelf liner. Just kidding, the peeling off part was horrendous, an inch at a time or less, with a razor blade and not without injury. But the reward! I was able to actually move some of the dishes and utensils I've had gathering dust upstairs since July 2015 into those shiny, sanitized, cabinets!
Beautiful After
Old Mobile Scout Clearance Light


1961 Mobile Scout Light Replacement
New Mobile Scout LED Rear Light Set

 Hubs had his own reward epiphany in the form of replacing the vintage but badly clouded, scratched and not terribly illuminating lights on Sweet Melissa with LED versions that guarantee she'll be seen in the darkest rainstorm. Hooked the wiring harness to the truck tonight for a test run and he's over the moon happy with the visibility and overall shininess!


To be able to see progress in such visible ways has fired us up once again to keep going on this vision quest. We also have the added bonus of making a whole new set of friends at Harbor Freight as we race toward the final details! Safety chains...check! Sway control kit...check!

To close for the night, here's a quiz for all you trivia addicts--what size mattress do you buy for a fifty-five year old travel trailer? Anyone? We learned that it requires a 'three-quarter size' mattress, also known as an 'antique' or 'short full' mattress, 75" long x 48" wide. Now you know.

The mattress has been ordered, by the way, should be here soon, one more detail checked off the list. We really are going to park that vintage Mobile Scout trailer in a campground in 2016, honest. It's on my list.

Sunday, July 10, 2016

Mobile Scout Camper Progress-Lights, Windows, Air Conditioning!

Even with his crazy, crazy work schedule, the Hubs has been able to sneak in some time over the past few weeks refurbing the Mobile Scout. Awesome additions have been made!

Air Conditioning!

He had cleverly finished the new a/c cabinet and we'd been watching the end of summer sales (really? in early July?) Lo and behold, we snagged a Heuer 5000 btu unit at a steep discount. Did a trial run on a 100 plus degree day, should be perfect for our needs. "Hallelujah!" is all this Kansas camper has to say.


Lights! 

One of the decisions we made at the beginning was to replace all exterior lights with LED. We've stuck to that pretty faithfully, except for the original tag light.

But here's the fun thing...after seeing how much it would cost to purchase custom taillight flanges, the Hubs decided to do a little Kansas engineering that involved, you guessed it, tin cans! Thanks to a #5 can of pork & beans and his brilliant strategy, we now have taillights that match our classic canned ham camper. (Buy the beans at Walmart, you'll have the can AND the beans for about five bucks!) I think they're perfect! What do you think?


Mechanical Stuff

While painting the wheels, the Hubs also decided it would be wise to repack the bearings with grease and make sure everything wheel-and-axle-wise was in good running condition. So grateful for his cautious soul. By the way, the painted wheels make all the difference in the '61 Mobile Scout's profile, don't you think?


Something else that made a big difference in the Mobile Scout's curb appeal was to take the time to wash the windows. Who knew that removing a couple of decades' worth of grime would make Sweet Melissa sparkle?

Painting Science Tips from the Hubs! 

One more awesome hurdle cleared in the past couple of weeks was to paint the front above the shiny diamond plate we'd installed earlier. Hubs says the secret to great painting is to purchase a Wagner HVLP paint sprayer (be sure you buy one that is 4.1 fluid ounces per minute output or greater).

This will allow you to spray all types of paint up to and including enamels or epoxies. He also wants me to tell you to be sure to experiment with how much you thin your paint. The correct mixture of paint and thinner makes all the difference in a smooth paint surface. One more painting science tip: we used Zinsser Bullseye Cover Stain Primer. It adhered to the aluminum surface perfectly and gave us a good base coat for the color applied later.


Seriously, we're going to have our vintage camper ready for fall camping season, in fact, we bought insulated chairs for sitting out in the campground on those cool autumn nights. Can't wait to use them!


Sunday, July 3, 2016

Cleaning and Painting Chores on the '61 Mobile Scout
This rainy weekend (more than six inches of rain in two days!) has moved us farther along on with the 1961 Mobile Scout rehab project. The Hubs, the creative side of this rehab team, has been unleashing his artistic genius as he adds the swoops and flourishes he envisioned when we brought Sweet Melissa home one year ago tomorrow. What do you think? Cool, right?


The street side painting will be just as fun, once completed. He's also added a nice touch with diamond plate on the front end.


Meanwhile, inside the canned ham camper, I managed to remove, with the help of a product suggested by my best buddy, the major rust stains on the 55-year-old Formica on counter and dinette top. Thanks Judy and Mold Armor!


All in all a productive weekend, more progress tomorrow if the monsoons don't return!


Thursday, June 9, 2016

By the Light of the Silvery Moon....

http://1961mobilescoutrebuildadventures.blogspot.com/2016/06/by-light-of-silvery-moon.html
A quick update by moonlight to show our readers the flooring that has been skillfully installed tonight by The Hubs. He's a keeper, for sure! It just goes to show, as we race toward our 23rd anniversary this weekend, that there's nothing quite like having a guy around who knows how to do stuff.

Here's the evidence! For the technically-minded, he used the leftover 1/8" birch paneling as underlayment, secured it to the trailer floor with staples, prepped the birch with Tec Multipurpose Primer, waited until it dried a bit and then applied the vinyl flooring.

We are thrilled with the result--adds a whole new layer of coziness to the canned ham.

That campground is getting closer every day!


Sunday, June 5, 2016

The Golden Glow Returns!

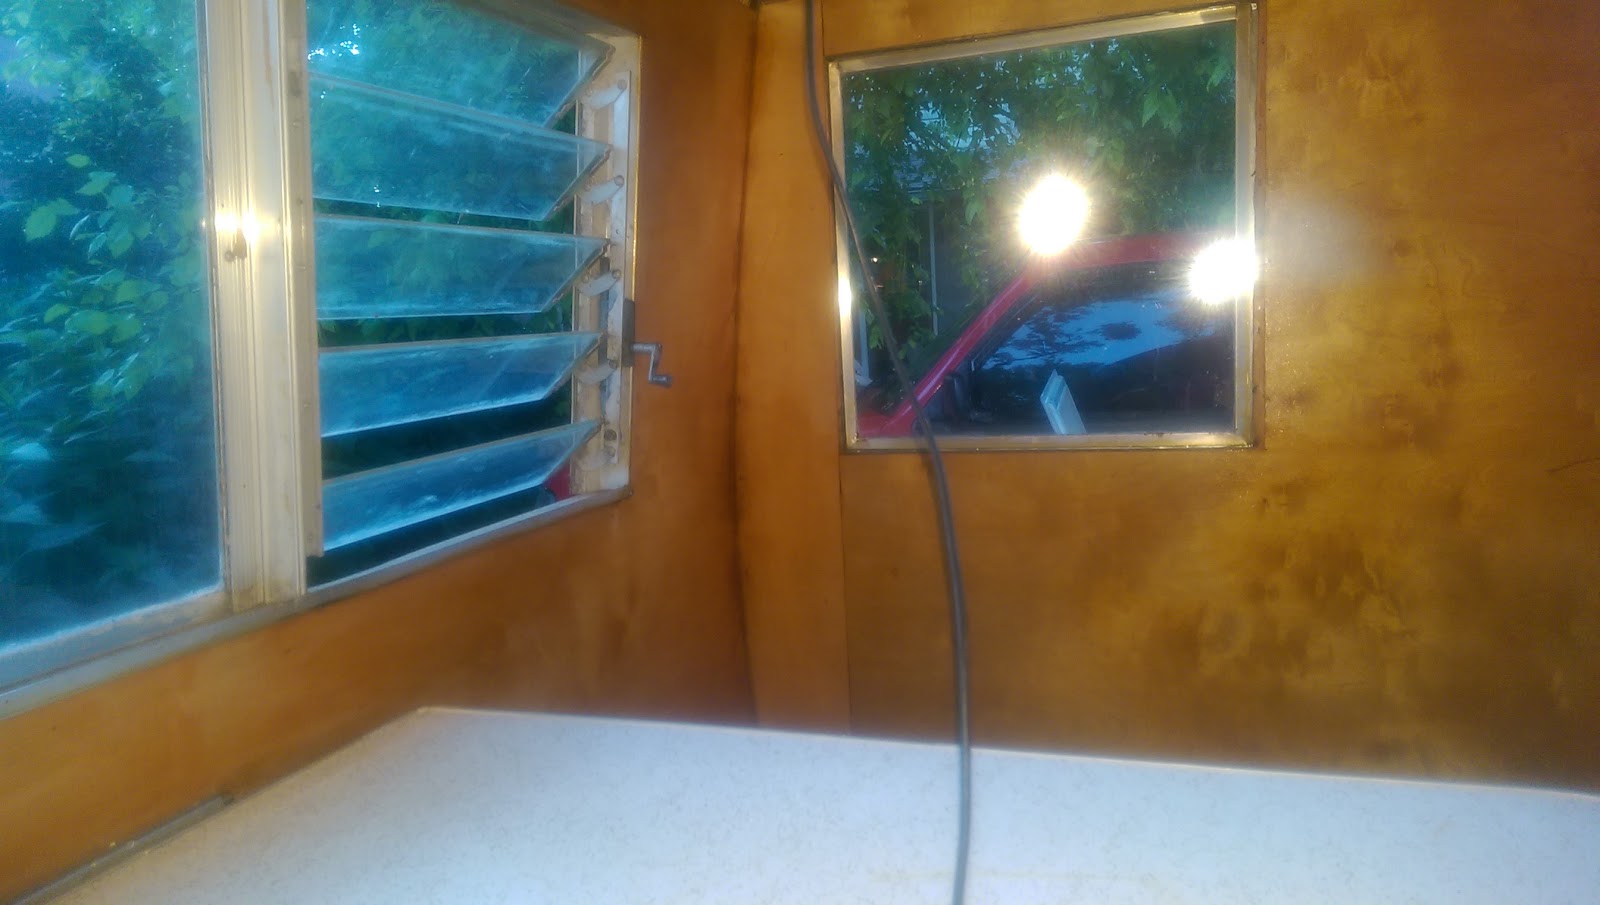
A marathon day of canned ham camper refurb has produced impressive results, at least in my humble opinion. As you might have guessed by the title, the golden glow of amber shellac has returned, as every inch of birch inside our 1961 Mobile Scout camper has now received three coats of shiny awesomeness. Looks cozy, don't you think?

1961 Mobile Scout Dinette Shellac Another major project nearly completed is the reconfigured a/c, fridge and storage closet. Isn't the Hubs clever?1961 Mobile Scout Pantry Reconfiguration
1961 Mobile Scout Sleeping Area Shellac
1961 Mobile Scout Door RepaintYou may have also noticed in these random pics that Sweet Melissa's bedroom area has been reassembled and awaits a mattress. And I don't want to miss the big step in terms of personalizing our camper to our tastes. The Hubs primed and painted the door!! I think the color is amazing, and it really helped us finalize our color scheme.

 One more fun pic before I go...first meal together in our quickly coming together camper!


We laid out the flooring tonight and will be installing that soon. Then it's nuts and bolts stuff again, and a paint job, before Sweet Melissa is ready to roll. Thankful for a long day of working together and can't wait to see her when she's finished.


Sunday, May 15, 2016

Doors and More

Bent Front Door '61 Mobile Scout
Whew! It's been a long, hard pull over the winter, trying to fit the camper refurb into real life.

Here's what's happened since our last post:

Hub's decision to pull the door off Sweet Melissa and repair it. We have a theory about how the door got bent so badly...we think a giant black bear tried to pull the door off our '61 Mobile Scout while in search of food. Lucky for us, the lock is a sturdy one and it only resulted in a badly bent door. Or, more likely, some hapless former owner/camper hooked a post pulling into a campsite. We like our theory better!
 
And then there was the great appliance controversy of 2016. We had decided to keep and restore the original Dometic propane stove and refrigerator, but after much discussion, opted instead to put in newer, safer appliances.

I know, I know, new ones won't have nearly the cool factor that vintage camper appliances would, but after seeing pics of trailer explosions caused by faulty propane fixtures, and having no idea when these were last used, we (I) chose safety over coolness. Sorry, stock rebuilder friends.

That choice created a bunch of new work for the Hubs, mainly having to tear apart the original closet and move things around so that we could install a small air conditioning unit near the old fridge vent. And run both 12V and 110v wiring to the new refrigerator cabinet where the 55-year-old propane heater once sat (opting for a small catalytic heater instead.)

He's also managed to install the last piece of birch paneling and run a header brace across the ceiling between kitchen/sleeping area. If it ever remains warm AND dry in Kansas for two days in a row again, my job is to get every inch of birch shellacked and gorgeous.

One more fun thing to share with our readers...thanks to our awesome friend, Michelle, princess of all things upholstery, we figured out how to make dinette seat cushions without having to sew a stitch! Here's a look at what my brilliant husband has made.

So, to finish, it's been a long, crazy time since we last updated our readers about trailer restoration efforts. Cold weather, big family birthday celebrations, negotiating and decision making, the Hubs working LOTS of hours and, oh, yes, a trio of precious grandbabies born have had us a bit distracted.

But we're back on track and raring to finish. Still to do...final decisions on paint scheme, actually painting Sweet Melissa, installing new lights all around, checking the underneath parts one more time for roadworthiness, installing the flooring and appliances and making a duvet to cover the foam we've located at the Yard Store for our mattress. At some point, we've got to get those curtains, finished, too, but we'll cut our daughter/seamstress some slack, since she's just given birth to twins *smile*.

And lest you think hubby's doing it all this other stuff himself, this was my contribution on a recent weekend, resealing a leaking J-Rail with putty tape and replacing the last of the old, rusting exterior screws with new, shiny ones.

Onward and upward!


Tuesday, September 15, 2015

Mobile Scout Update: Lights, Ceilings, Curtains and More!

Haven't posted for a couple of weeks but, never fear, we've been making progress on the 1961Mobile Scout rebuild. First of all, the Hubs has replaced the old shoreline connection so that, when we finally get to go camping, we can plug into the campsite power. That also means that we have lights in the camper. Woot woot!
First Curtain in the 1961 Mobile Scout

We've also hung our first curtain, sewn by our awesome daughter, Jessi, to test their length on our windows. What do you think? I think I can't wait to see all ten cheerful window dressings installed!


J-Rail Resealed and Reinstalled
The next big step forward is that my clever husband has figured out how to remove, reseal and replace the J-rails that run around the edges of the camper. Same thing with the window frames. He's also replacing, one at a time, every single rusty, old screw from the aluminum rails, windows and siding with cadmium plated RV hardware.

And all that sealing and strengthening means no more leaking (fingers crossed), which means we get to install the ceiling. Here are the first pieces of unshellacked birch. Can't wait for the interior to be completely reinstalled. You know why...amber shellac!
Beautiful birch interior
I'm thinking things will start moving along quickly now - once we've shellacked the interior, the doors and drawers go back in, the pantry/fridge closet gets reassembled and the appliances get refurbished and installed. Then on to rebuilding the dinette, covering the counter and dinette top with new formica and finishing the dinette cushions. We're also installing a 12v system so that we'll have lights and nice things like phone chargers when we're off the grid. Oh, yeah, and we need to paint the exterior. But every day it's getting closer to first launch!


The Hubs making the 1961 Mobile Scout watertight